
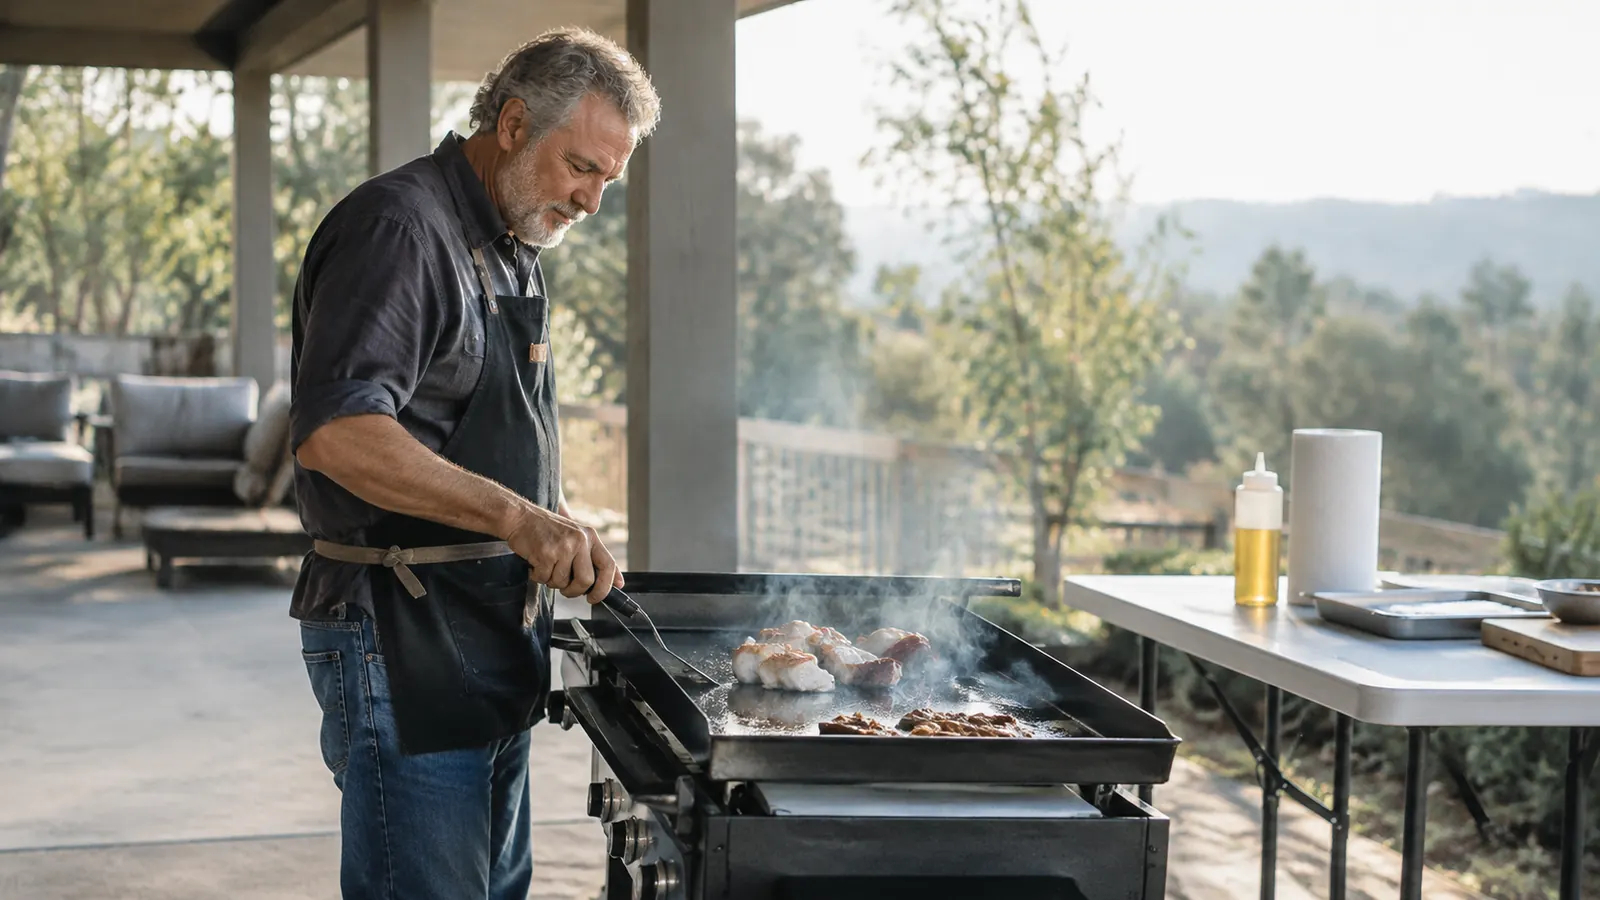
The first thing I tell anybody who just bought a Blackstone 22-inch tabletop griddle is to slow down. I know you want to unwrap it, fire it up, and smash burgers for the whole block. I felt the same way the day mine showed up. But a new griddle top ships with a light protective coating on the carbon steel, and if you cook on it before you season it, you will spend the next month scrubbing rust and watching your burgers stick to the surface. The good news is that seasoning a griddle is not hard. It is mostly about doing a few simple things in the right order, and not skipping the boring parts.
Seasoning is just a fancy word for baking thin layers of oil into the steel until they turn into a dark, non-stick surface. It is the same idea as curing a cast iron skillet. Do it right once, and the griddle gets better every time you cook on it. Rush it, and you are fighting the surface for years. I have seasoned more than one griddle top in my life, and the Blackstone I keep on the patio prep table is the one I finally did right.
Season it once, cook on it for years
The Blackstone 22-inch tabletop griddle gives you 361 square inches of cooking surface with two independently controlled burners, which is plenty of room for a batch of smash burgers. Before you cook on it, give it the hour this guide takes. Your burgers will thank you.
Amazon Check Today's Price on Amazon →What You Need Before You Start
You do not need much. A bottle of high-smoke-point oil, a roll of paper towels, a soft cloth or sponge, mild dish soap, and a flat metal spatula. If you have cooked on a cast iron skillet, you already own everything on this list. The griddle itself is the only thing you need to buy, and the Blackstone 22-inch tabletop griddle comes with a user manual in the box that covers the basics. The manual is fine, but it will not tell you what to do when the oil starts smoking and you wonder if you are ruining the surface. You are not. That is the process working.
Pick a day with no wind and no rain in the forecast. You will be working with an open flame and hot oil, and a sudden gust can blow a paper towel into the burner or send a wisp of smoke into your face. I also keep a metal pan on the prep table to hold the paper towels I am done with. They go into the pan, not onto the patio. This is the kind of detail that sounds fussy until you have a grease fire on a concrete slab, and then it sounds like common sense.
Step 1: Wash the factory coating off the steel
Take the griddle out of the box and look at the cooking surface. It will feel slick, and it might look a little greasy. That is the protective coating the factory puts on to keep the carbon steel from rusting between the assembly line and your patio. It is not seasoning, and you do not want to cook on it.
Wash the top with hot water and a mild dish soap. Use a soft cloth or sponge, and scrub the whole surface, including the edges and the front lip where grease will collect later. Rinse it well. What you are removing is a thin waxy film, and if you leave any of it behind, it will burn onto the steel during the first cook and make the surface patchy.
Dry it with paper towels. Then dry it again. Carbon steel rusts fast, and water left sitting on a fresh griddle top is how you get orange spots before you ever cook a meal. This is the part people skip, and it is the part that matters most.
Step 2: Set up on a stable surface and warm the steel
I do my seasoning on the fold-out prep table on my covered patio. The griddle weighs 25.3 pounds, so it is not going anywhere, but the table gives me room to work and keeps the smoke outside. Do not season a griddle inside the kitchen. It will smoke, and the smoke will find every smoke detector in the house.
Turn both burners to low and let the griddle warm up for a few minutes. The Blackstone has two independently controlled H-shaped burners, which means the heat spreads out evenly across the 361 square inches of cooking surface. You are not cooking yet. You are just driving off any moisture you missed with the paper towels.
Watch the surface. When the steel is dry and warm to the touch a few inches above it, you are ready for oil. Do not crank the burners to high yet. High heat on bare steel is how people warp a griddle top, and a warped top never sits flat on the table again.
Step 3: Apply a thin coat of oil, then wipe it like you are trying to remove it
Pick an oil with a high smoke point. I use canola oil because I always have it in the pantry. You can use grapeseed, flaxseed, or even a little vegetable shortening. What matters is that the oil can take heat without breaking down before it turns into seasoning.
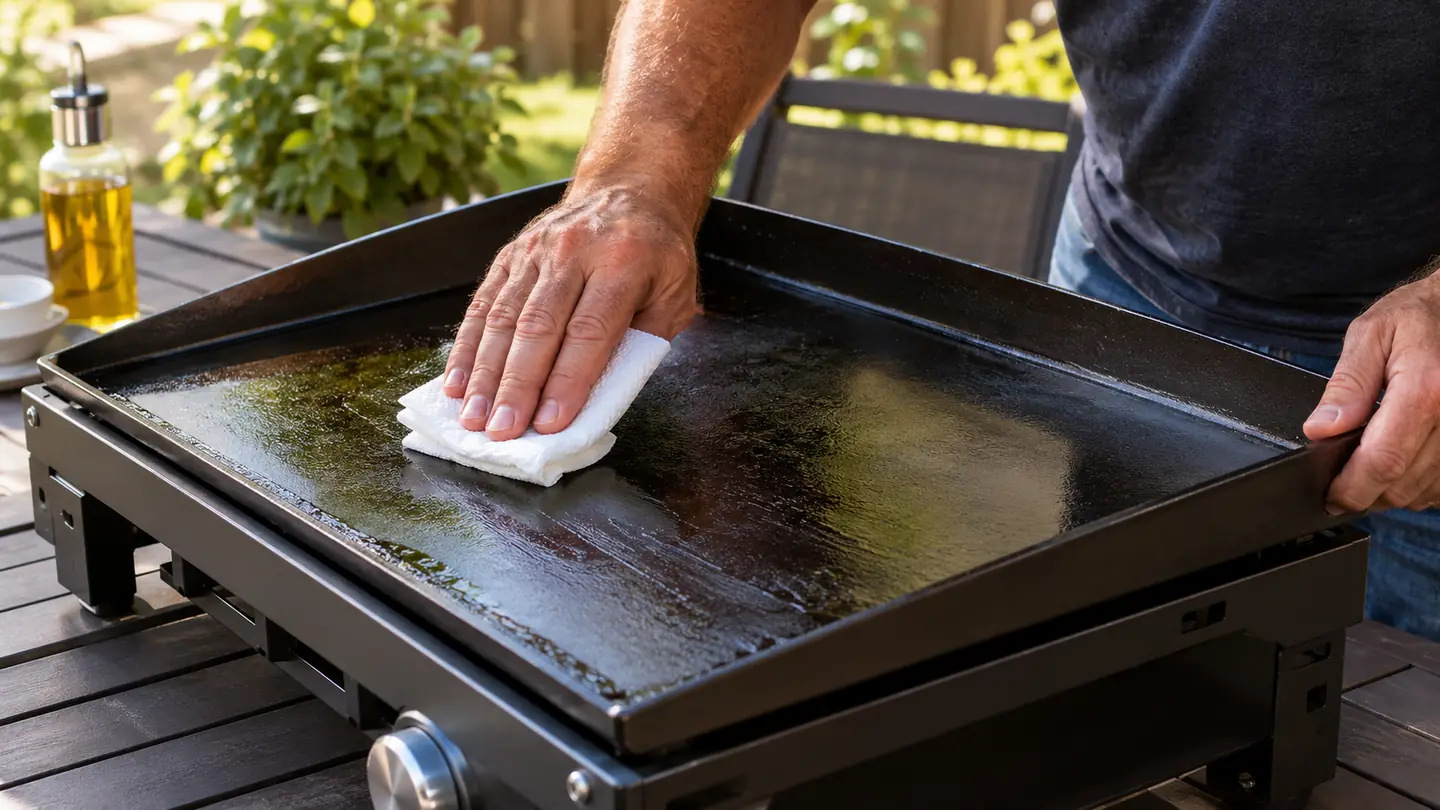
Put a small amount of oil on a paper towel and wipe the whole cooking surface, including the edges. Then take a clean paper towel and wipe it again, like you are trying to get the oil off. What stays behind is a thin, even film, and that film is what turns into seasoning. A thick puddle of oil does not season. It turns into a sticky mess that you will be scraping off for weeks.
The same rule applies to the sides and the front lip. Grease will run down there later when you cook, and a little seasoning on those surfaces makes cleanup easier. Do not worry about the outside of the griddle. The seasoning is for the steel you cook on.
Step 4: Heat it until the oil smokes, then let it cool and repeat
Turn the burners up to medium and wait. In a few minutes you will see the oil start to smoke. That smoke is the oil polymerizing, turning from a liquid into a hard, slick layer bonded to the steel. The first time you see it smoke, you will be tempted to turn the heat down. Do not. You want a steady, gentle smoke, not a billow, but a little smoke is the whole point. Let it smoke for a few minutes, then turn the burners off and let the griddle cool down.
When the surface is cool enough to touch, apply another thin coat of oil exactly like the first one, and heat it again until it smokes. I do three coats on a new griddle. Some people do five. The griddle will start to turn a light brown, then a deeper bronze, and by the third coat it will look like a well-used cooking surface instead of a brand new one.
This is the step where patience pays. I am a retired HVAC technician, and I think of seasoning like curing a coat of paint. You never lay one thick coat on and hope it holds. You build thin layers, let each one set, and add the next. Rushing the process just gives you a surface that flakes off on your first batch of burgers.
Step 5: Cool it, wipe it, and cook your first smash burgers
After the last coat has smoked off and the griddle has cooled, wipe the surface once more with a dry paper towel. It should feel smooth and slightly slick. That is the seasoning. Now you are ready to cook.
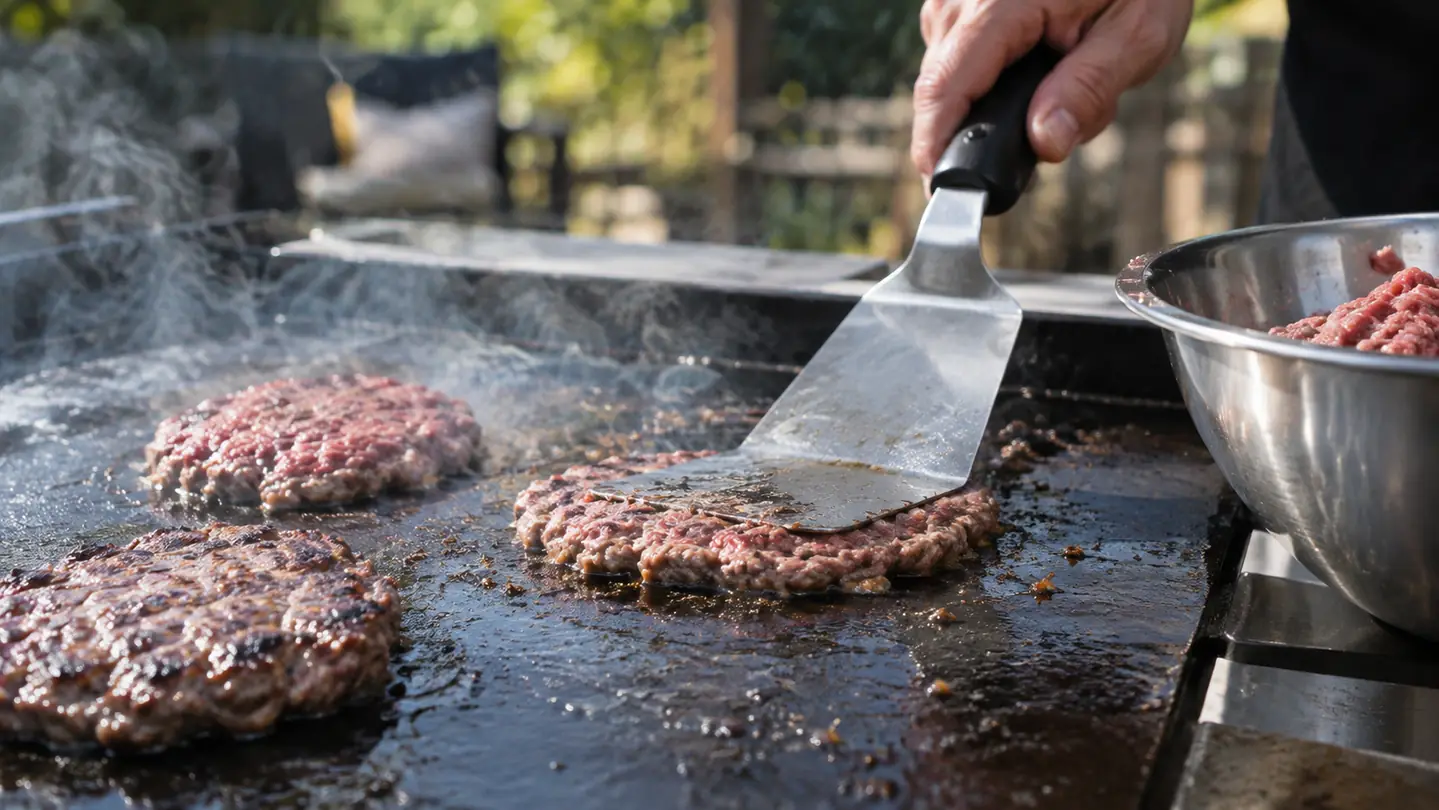
For smash burgers, I preheat the griddle on medium for about ten minutes. Then I drop balls of ground beef onto the hot steel and press them flat with a spatula. I use about a quarter pound of beef per patty, rolled into a loose ball. When it hits the steel, it flattens out thin, and the edges crisp up in the hot oil left from the last cook. The surface should sizzle hard when the meat hits it. If it does not, give it a few more minutes. The 361 square inches of cooking space on this griddle will fit four or five smashed patties at once, which is plenty for a family cookout.
After you eat, clean the griddle while it is still warm. Scrape the food residue off the surface, wipe it with a damp paper towel, and dry it. Then rub on one more thin coat of oil and let it cool. That last coat is what keeps the seasoning healthy between cooks. It takes two minutes, and it is the reason my griddle still cooks well after two years of use.
How to Keep the Seasoning Healthy
The first cook will dull the seasoning a little, and that is normal. Scrape the surface clean while it is warm, wipe it dry, and add a thin coat of oil before you put the griddle away. The next time you cook, the surface will be better than the first time. That is how seasoning works. It builds with use.
If you see a little rust, do not panic. Scrub it off with a paper towel and a drop of oil, wipe the area dry, and lay down a fresh thin coat. Rust on carbon steel is surface-level unless you ignore it for a month. I have had a few spots appear after a rainy weekend, and a five-minute touch-up fixed every one of them.
What Else Helps
A few tools make the job easier. I keep a squeeze bottle of canola oil on the prep table so I can lay down a thin coat without dunking a paper towel in a jar. A flat metal spatula with a straight edge is the right tool for smashing burgers and scraping the surface. And I switched to a GRILLART bristle-free brush about a year ago after reading about wire bristles coming loose and ending up in food. For seasoning, paper towels do most of the work. You do not need anything fancy.
One more thing: season the griddle on a day when you are not in a hurry. The whole process takes about an hour, most of it waiting for the steel to heat and cool. I did mine on a Tuesday afternoon, let it sit overnight, and cooked smash burgers for six people that Saturday. If you can, give the griddle a full night to rest after the last coat. The seasoning keeps curing as the steel cools. It has been a dependable cooking surface ever since.
One thing I do not bother with is a thermometer for the griddle top. You do not need a temperature reading to season it. You need to watch the oil and read the smoke. Medium heat, thin coats, and patience will get you there every time. If you want to check heat later for smash burgers, the water test works fine: flick a few drops of water on the surface, and if they dance and evaporate fast, the griddle is ready.
I seasoned mine on a Tuesday afternoon, let it cool overnight, and cooked smash burgers for six people that Saturday.
A seasoned griddle is a griddle you will actually use
The Blackstone 22-inch tabletop griddle is compact and portable, which is why mine lives on the patio prep table and goes camping with us. Once you season the top the way this guide describes, it becomes the most-used cooking surface in the backyard.
Amazon Check Today's Price on Amazon →