

I will tell you straight: I did not think much about grill brushes until I found a wire bristle stuck in a pork chop. It was a tiny one, buried in the sear marks, and I only caught it because it scraped my tongue. That ended wire brushes for me. I threw mine in the trash that night and went looking for something that would not leave steel hairs in the food I cook for my grandkids. What I settled on was the GRILLART bristle-free grill brush, and I have used it for about a year now. This is how I clean my grates with it, step by step.
There is nothing fancy about the method. You heat the grate, you scrape it while it is hot, you wipe it down, and you oil it before the next cook. The brush does most of the work. The GRILLART has an 18-inch stainless steel handle and a double helix head with no bristles at all, just a scraper edge that rides the bars of the grate. It also comes with a separate scraper for flat surfaces. That is the whole tool. The rest is technique, and technique is what I am going to walk you through.
The brush I switched to after finding a wire bristle in my dinner
The GRILLART bristle-free grill brush has an 18-inch stainless steel handle, a two-layer double helix head, and a separate scraper for flat surfaces. No bristles means nothing to shed into your food.
Amazon Check Today's Price on Amazon →What You Need
A grill brush with a long handle, a heat source good and hot, a rag or paper towels, and a little oil for the last step. That is all. You do not need a special cleaner. You do not need a bucket of water. You do not need to take the grate off the grill. The heat and the scraper do the work, and the whole job takes about ten minutes if you do it while the grill is already hot. I clean my grates right before I cook, after the burn-off, which means the grill is doing double duty: heating up for dinner and cleaning itself at the same time.
Step 1: Heat the grate before you scrape
The single biggest mistake I see in other people's backyards is scrubbing a cold grate. Cold grease does not want to come off. You end up leaning on the brush, wearing out your arm, and still leaving a gray film behind. Heat changes the math. Give the grill ten to fifteen minutes on high and the residue softens, burns, or turns to ash. On my Weber kettle I set it up for direct heat, put the lid down, and let it run while I set out the rest of the cook. On the Z Grills pellet grill I just turn it up and wait.
How hot is hot enough? I do not chase a number for this job. If the grill has been running on high for ten minutes, the grate is hot enough to clean. You will see the smoke thin out as the old grease burns off. That is your signal. When I am cleaning right after a cook, I skip the warm-up and go straight to scraping while the grate is still hot from dinner. Either way works. The point is to work on a hot grate, not a cold one.
One caution before you start: get your water sprayer out of reach. A few drops of water on a hot grate will steam and pop, and a stream of water on a hot grill can warp a thin grate. I clean dry. If something is really baked on, I let the heat work on it longer before I scrape, not after. Patience is cheaper than a new grate.
Step 2: Scrape the grate with the double helix head
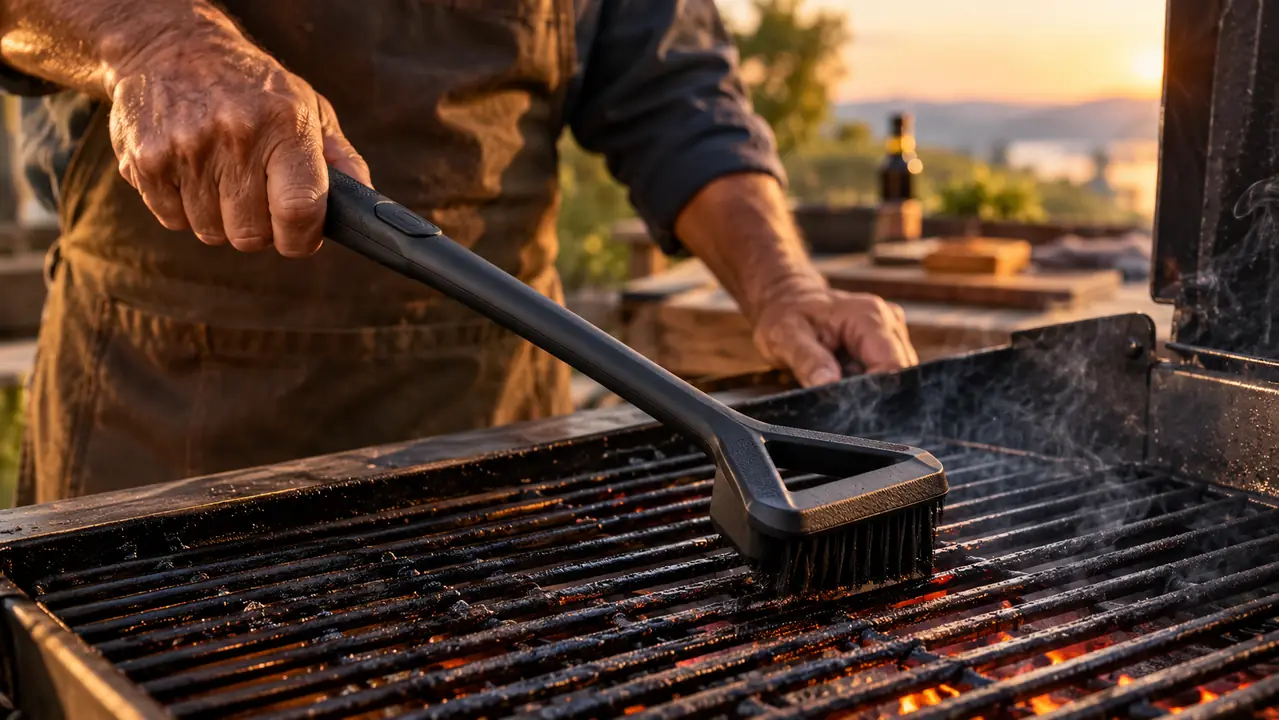
The GRILLART head is a double helix, two layers of twisted wire that form a scraper edge. It is not a wire brush in the usual sense. There are no bristles to shed and no little metal hairs to find in your food later. The edge rides along the top of each bar and clears off the cooked-on residue in one pass, especially if the grate is hot. The two-layer design gets into places a flat scraper cannot reach.
I hold the brush at a slight angle, with the head tilted so the scraper edge meets the bar, and I pull it toward me along the length of the grate. One slow pass beats three fast ones. You can feel the difference between a clean bar and a dirty one through the handle. When the drag turns smooth, that bar is done. I work the grate in sections, left to right, so I do not miss a stretch. It is the same habit I had as an HVAC tech: check every inch of the line, not just the part you can see.
Do not lean on it like you are scraping paint. The heat is doing the real work, and your job is just to guide the head along the bars. Pressing harder does not clean faster, it just wears out the scraper edge and your patience. The first time I used a bristle-free brush I was skeptical, because it does not look like it will do much next to a wall of wire bristles. But the scraper edge does the work, and after a few cooks you get a feel for the angle. Now I would not go back.
Step 3: Work the gaps and the ends
The top of the bar gets most of the attention because that is where the food sits. But the sides and the gaps between bars collect grease too, and that grease is what smokes and flares on the next cook. The double helix head fits down between the bars. I run the edge along each side of the gap, then move to the next one. It takes an extra minute and it is the difference between a clean grill and a mostly clean grill.
The ends of the grate, near the handles, are easy to skip because they are awkward to reach. I make a point of doing them first while the brush is still clean. Once the head picks up grease, it spreads it around, so I start at the ends and work toward the middle. That way the last passes are on the part of the grate that actually cooks the food. It is a small thing, but small things add up over a summer of Sunday cookouts.
If you have a griddle like my Blackstone, the separate scraper that comes with the GRILLART brush is the tool for the flat top. The scraper has a straight edge that pulls the grease toward the drip tray. The double helix head is for the round bars of a grate. Having both in one package means I do not keep a second scraper around for the griddle.
Step 4: Wipe, rinse, and oil the grate
After scraping, I take a folded paper towel or an old rag and wipe the grate down while it is still warm. This picks up the loosened ash and grease that the brush pushed into the gaps. If the grate is really dirty, I will rinse it with water after it cools, then dry it and put it back on the grill. I do not soak a grate. Water and steel do not get along, and a wet grate left to air dry is a rusted grate by morning.
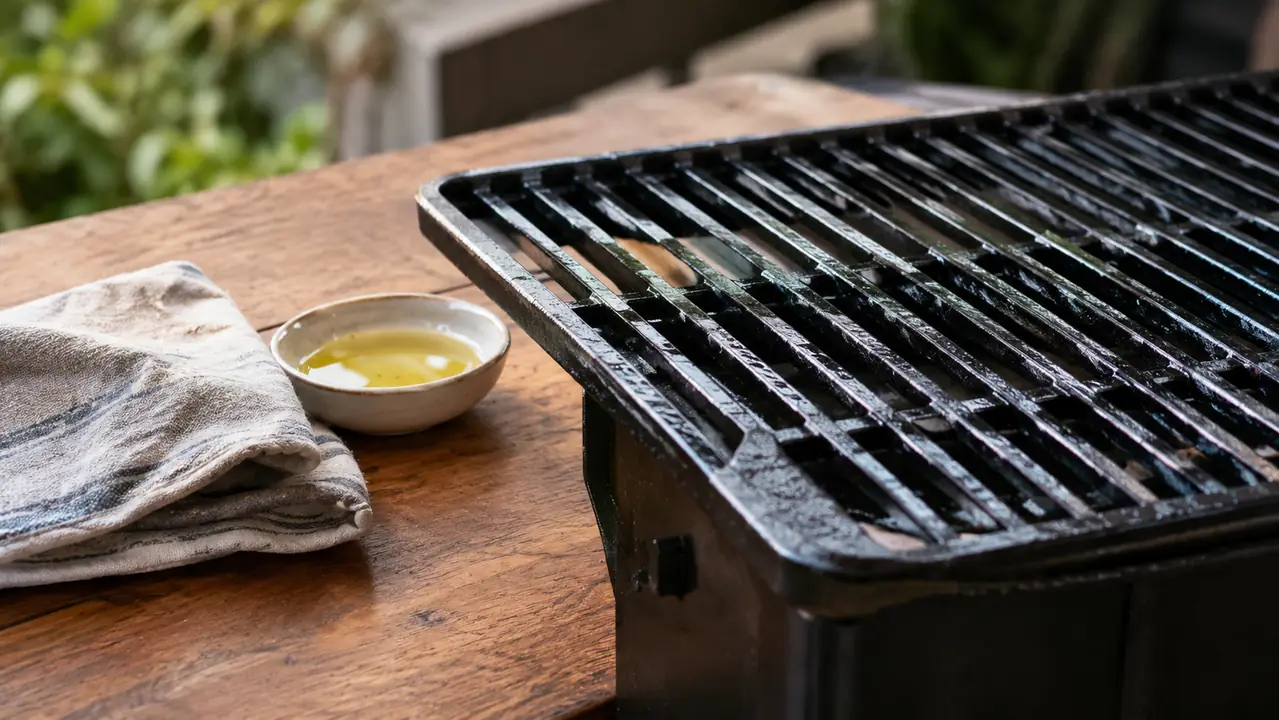
Before the next cook, I oil the grate. A light coat of vegetable oil on a paper towel, rubbed over the bars while the grill is warm, keeps food from sticking and gives the grate a little protection between uses. This is not seasoning a cast iron skillet. It is just a thin film. Too much oil just burns off and smokes. I learned that the hard way one spring when I greased the grate like a baking pan and spent the first ten minutes of the cook waving smoke away from the patio.
How often you clean depends on how often you cook. I grill two or three times a week, and I clean the grate every time, because a clean grate is part of how the food comes out. If you only fire up the grill on weekends, clean it before every cook and give it a good scrape after. The routine matters more than the schedule.
Step 5: Clean and store the brush
The brush does the dirty work, so it earns a little care itself. After I finish, I knock the head against the side of the grill to shake off the loose carbon, then rinse the head under hot water and let it dry. The stainless steel handle can take the weather better than a wooden one, but I still keep the brush inside the patio cabinet or in the garage. A year in, mine still looks and works like it did the day I bought it.
Watch the scraper edge. A bristle-free brush will not shed, but it will wear. When the edge gets rounded over or the head starts to load up with baked-on carbon that will not come off, it is time for a new one. That is normal. A scraper is a wear item, same as a spatula. I would rather replace a brush every year or two than worry about wire bristles in the food.
One more thing: do not leave the brush sitting on the grill when you are done. The heat will soften the head and bake the grease back on. I keep mine in the cabinet by the prep table, out of the weather, and it is ready the next time I need it. Thirty seconds of habit saves you a mess later.
What Else Helps
A few things make the job easier. A good grill light helps when you are cleaning in the evening, because you need to see the bars to know when they are clean. A stiff spatula handles the stubborn spots that even a hot grate will not give up. And a small dish of oil and a roll of paper towels should live on the prep table next to the grill, because you will use them every cook. None of that is fancy. It is just having what you need within reach instead of walking back into the house with grease on your hands.
One thing I learned as an HVAC tech applies here: the tool matters less than the routine. You can clean a grate with a folded paper towel and a hot fire. The brush just makes it faster and easier. The routine is what keeps the grate ready, and a ready grate is what makes the food come out right on a Sunday afternoon when the whole family is standing around the patio.
I found a wire bristle in a pork chop and threw my wire brush in the trash that night. A year later, I have not found a single bristle in anything off my grill.
Why I Switched to Bristle-Free
I will be honest about the tradeoff. A wire brush cleans fast, and for decades I did not think twice about it. Then I read about people finding bristles in their food, and I figured it was one of those rare stories until it happened to me. The bristle I found was small, but it was in a pork chop I was about to serve to my family. That changed my mind faster than any article could.
The GRILLART brush does not clean quite as aggressively as a fresh wire brush on a cold grate. But you are not supposed to use it on a cold grate. On a hot grate, which is the right way to clean anyway, it does the job completely. I will take a slightly slower clean over a brush that leaves steel in my food. That is not a hard decision.
A Few Notes From a Year of Use
The GRILLART brush has been on my patio for about a year now, and I have used it on the Weber kettle, the Z Grills pellet grill, and the Blackstone griddle. It handles all three. The 18-inch handle keeps my hands away from the heat, which matters when you are working over a hot grill on a summer evening. The stainless steel handle wipes clean in a second.
The only thing I would warn you about is the same thing I warn everyone about: no brush makes a cold grate easy. If you let the grill sit for a week with grease baked on, you will have to work for it no matter what you are holding. The GRILLART brush makes the job easy when you do it the right way, on a hot grate, and that is the whole point.
If you are still using a wire brush, I am not going to tell you to throw it out tonight. I will tell you what I tell my son-in-law: look at your brush the next time you clean the grate, and look at what it leaves behind in the sink. Once you see those little wire hairs in the bottom of the sink, the decision makes itself.
One less thing to worry about at the cookout
A bristle-free brush with an 18-inch stainless steel handle and a scraper for flat surfaces. It has held up for a year of weekly grilling on my patio, and I have not found a single bristle in my food since I switched.
Amazon Check Today's Price on Amazon →