
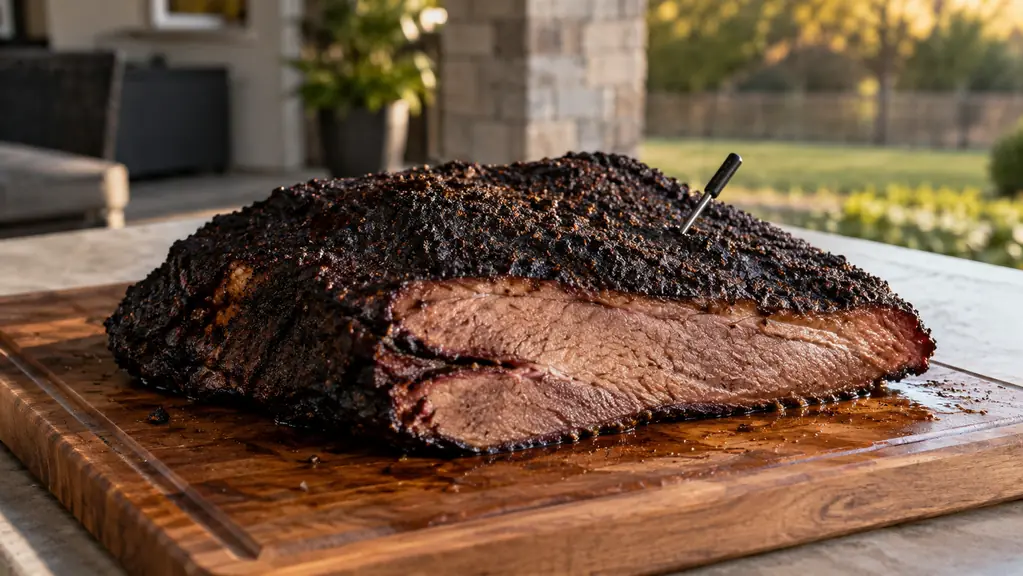
The first brisket I ever cooked came out looking like a charred doormat. I had a cheap dial thermometer stuck in the side, a kettle full of lump charcoal, and no idea what was happening inside that hunk of meat. I pulled it at what I thought was done, sliced into it, and watched the juice run out onto the cutting board like I had cut open a water balloon. My wife Carol was kind about it. The dog next door had a very good week.
Brisket is not hard because the cooking is hard. It is hard because you cannot see what is happening inside the meat, and the window between tough and tender is a matter of degrees. That is why I finally bought a MEATER Plus wireless thermometer about a year and a half ago, and why it now sits on my prep table for every cook, from a rack of ribs to a whole packer brisket. This guide is the exact process I use now, step by step, with the thermometer doing the watching so I can do other things.
Stop guessing. Let the MEATER Plus watch the temperature for you.
The MEATER Plus is the thermometer I reach for on every cook. Dual sensors, a 3-second response time, and up to 527 degrees Fahrenheit of range, all wireless. Check today's price on Amazon.
Amazon Check Today's Price on Amazon →Step 1: Pick the right brisket and trim it the night before
You want a whole packer brisket with both the flat and the point, somewhere in the 10 to 14 pound range before trimming. At my local grocery store I ask for one with a thick, even fat cap and a flat that is not paper thin at the end. The thin end of the flat is the part that dries out first, so I look for a brisket where that end still has some meat to it.
Trim it the night before, when you are not tired and the light is good. Flip the fat cap up and trim it to about a quarter inch. Square off the ragged edges so nothing burns and flakes into the bark. Do not throw the fat away. I keep the big pieces in a bag in the fridge and toss a few chunks on the coals during the cook to keep things moist. Last March I picked up a 13.2 pound Choice packer at the Price Chopper on 291 Highway, and after trimming it weighed 10.4 pounds. Write the trimmed weight on the butcher paper with a marker before it goes on the cooker. At 250 degrees you can plan on roughly an hour and a quarter per pound, so a 10 pound brisket is a 12 to 13 hour day from the time it hits the grate.
Season it simply. I use coarse salt and coarse black pepper, about a 50/50 mix, and that is it. Some folks add garlic powder or a rub, and that is fine. But a long cook on a smoky fire will do more for flavor than any rub will, so do not overthink the seasoning. Wrap the trimmed brisket in plastic and let it sit in the fridge overnight so the salt has time to work into the meat.
Step 2: Set up your cooker and get a clean fire going
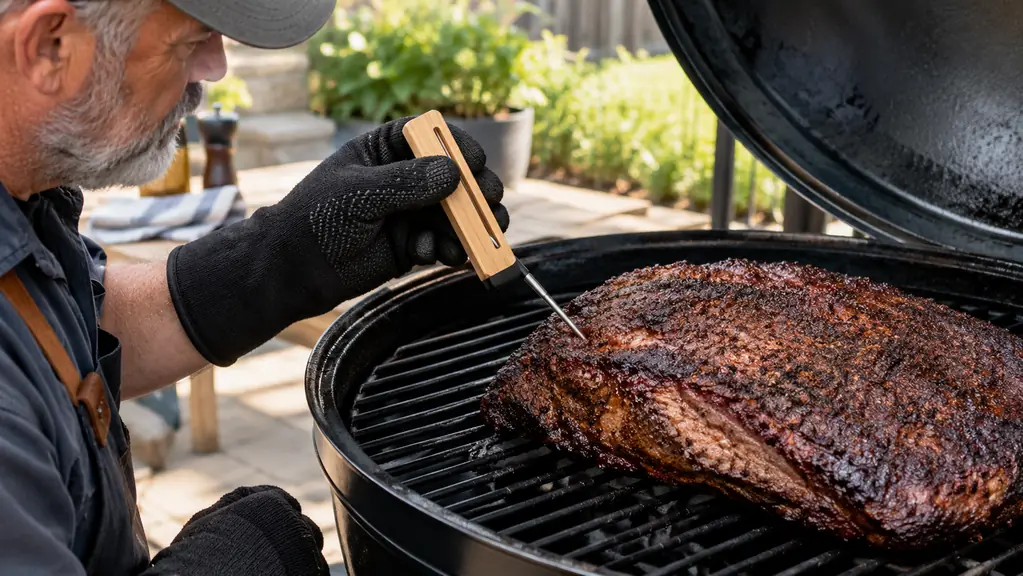
I cook brisket on my Z Grills ZPG-450A2 pellet grill these days, but the same steps work on a Weber kettle with a slow fire, a drum smoker, or any cooker that holds 225 to 250 degrees Fahrenheit. The cooker does not matter as much as the fire management. You want a clean, steady fire, not a smoldering one that puts out bitter white smoke.
Start the cooker about 45 minutes before the brisket goes on. Get the temperature settled in the 225 to 250 range and let it sit there for a while before you open the lid. If you are using a kettle, set it up for indirect heat with the coals on one side and a drip pan on the other, and keep the vents adjusted so the temperature holds without you fussing with it. One Sunday last summer I skipped this and paid for it. I dumped a fresh bag of pellets in without vacuuming the fire pot first, and the grill ran dirty for the first hour, putting out thick white smoke that left a bitter taste on the bark. I had to scrub the grates and put up with a bitter bark on that one. Now I vacuum the fire pot before every cook and light it with the lid open until the smoke runs thin and blue.
Add a chunk or two of hardwood, like oak or hickory, for the first couple of hours. After that, the meat has taken on most of the smoke it is going to take, and adding more just makes the bark bitter. I keep a spray bottle of apple juice and water handy and mist the brisket lightly if it looks like the surface is drying out, though I try to leave the lid closed as much as I can.
Step 3: Place the MEATER Plus probe correctly and set your targets
This is the step most people get wrong. The MEATER Plus has dual temperature sensors, one in the tip that reads the internal meat temperature up to 212 degrees Fahrenheit, and one higher up the probe that reads the ambient temperature inside the cooker. If you push the probe all the way in, you lose the ambient reading, and if you barely push it in, the internal reading is wrong. You want the tip dead center in the thickest part of the flat, with the upper sensor exposed to the air of the cooker.
The probe is thin stainless steel, so it slides in cleanly without leaving a big hole. Insert it from the top of the flat, angling down through the center of the meat. The included components are simple: one probe, a bamboo charger, and one AAA battery. The bamboo charger is worth keeping on the prep table, because the probe charges on it, and a 5-minute charge gives you about 2 hours of cook time. The first time I used it, I pushed the probe in too deep and the ambient reading matched the internal reading, which told me the upper sensor was buried in the meat. I pulled it back until the upper sensor cleared the surface and the numbers separated. The probe is rated for an immersion depth of 6.18 inches, and the stainless steel slides in and out without tearing the meat.
Set your target internal temperatures before the cook starts. I set the MEATER app to alert me at 165 degrees Fahrenheit for the stall, and again at 203 for pulling. The response time is about 3 seconds, so the reading moves fast when the meat starts climbing. The upper temperature range is 527 degrees Fahrenheit, which is more than enough for any cook I have ever done, and the lower range starts at 32, so it will also read a cold beer if you want it to.
Step 4: Cook low and slow, and let the stall happen
Put the brisket on the cooker fat side up, close the lid, and do not open it for the first three hours. I know it is tempting to peek. Every time you open the lid, you dump heat and add cook time, and you are not helping the meat. The MEATER Plus is wireless, so I sit in the living room with the phone and watch the internal temperature climb on the app instead of standing over the smoker.
The stall is the part that makes beginners think something is wrong. The internal temperature hits around 160 to 165 and just sits there for an hour or two while the moisture evaporates off the surface. This is normal. This is supposed to happen. The meat is not stuck, it is working. I have had briskets stall for almost three hours, and every one of them came out fine. The longest one I can point to was a 14 pounder last October that sat at 161 degrees for two hours and forty minutes. I nearly wrapped it early just to see the number move. I left it alone, and once it broke through it climbed to 203 in about three hours. Do not crank the heat to push through it. That is how you turn a brisket into a boot.
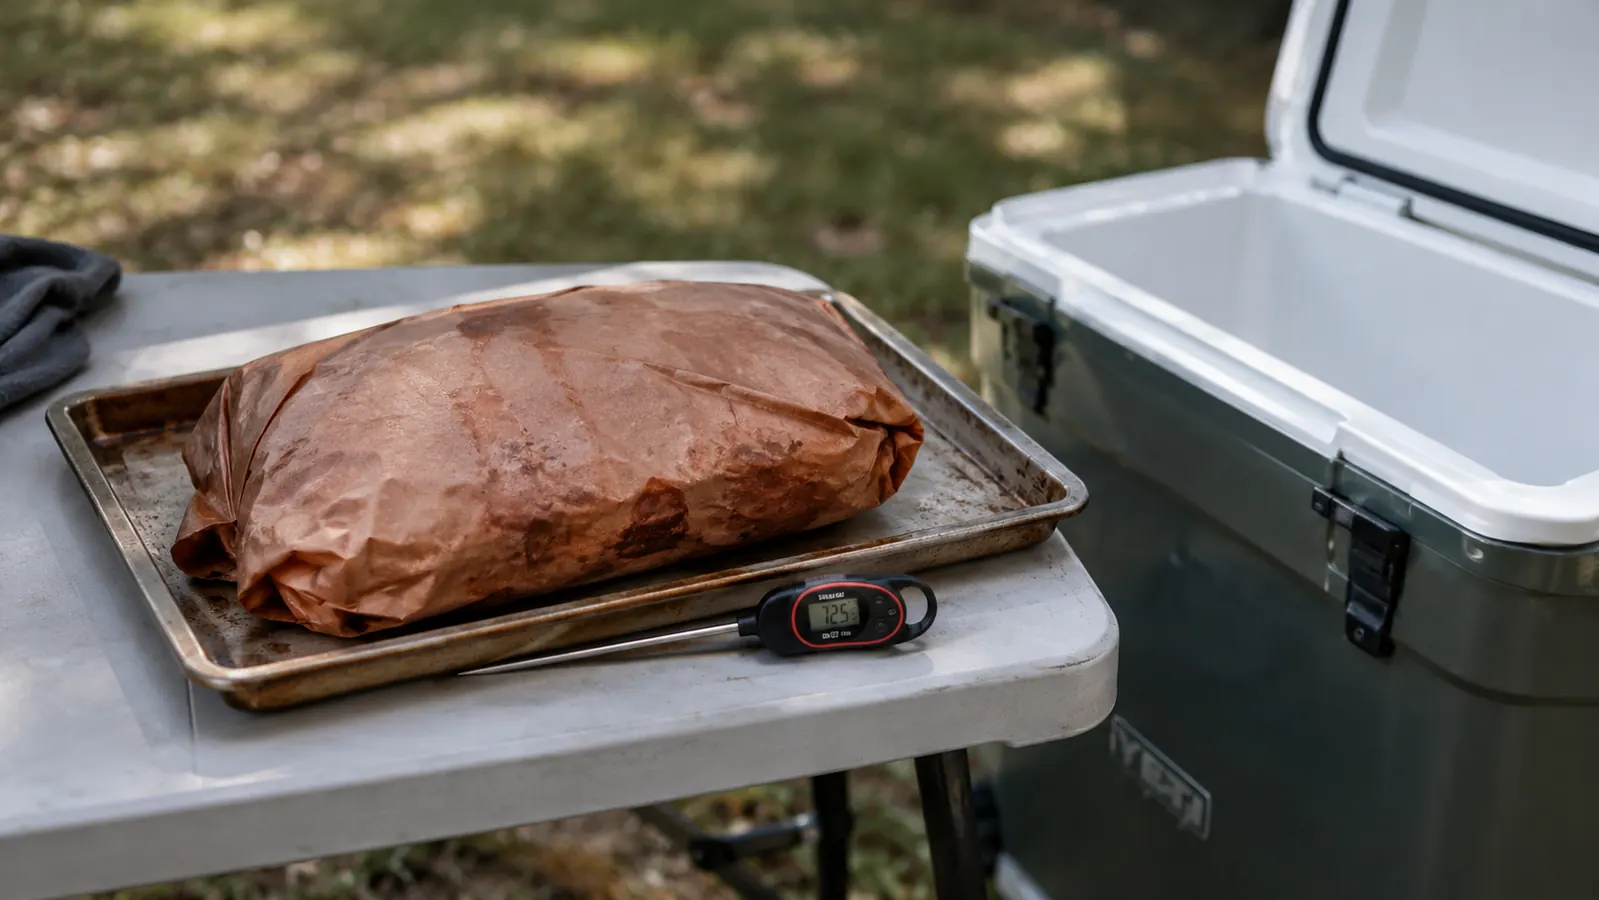
When the internal temperature hits about 165, which the MEATER will tell you, I wrap the brisket in butcher paper. Some folks wrap in foil. Butcher paper lets the meat breathe a little and keeps the bark from turning to mush. Add a little of the reserved fat or a splash of beef broth if you like, wrap it tight, and put it back on. The temperature will start climbing again, and this time it will keep going.
Step 5: Pull it at 203, rest it properly, and slice against the grain
I pull my brisket at 203 degrees Fahrenheit internal temperature, measured in the flat. The point will read a little higher, and that is fine. The meat should feel like it has some give when you poke it, not like a drum. When the MEATER Plus alerts me, I take the brisket off, wrap it in a fresh layer of butcher paper, and put it in a cooler to rest. I have rested briskets for three hours in a cooler with towels stuffed around it, and they came out better than ones I sliced right away. My cooler is a beat-up Igloo that lives on the patio. I line it with old bath towels, put the wrapped brisket in, and tuck more towels on top so no air gets in. The probe stays in the flat during the rest, and I watch it fall from 203 to about 150 over two and a half hours. That slow drop is where the collagen finishes its work.
The rest is not optional. It is where the connective tissue finishes breaking down and the juices settle back into the meat. If you slice a brisket the minute it hits 203, you will lose most of the moisture on the cutting board. Give it at least an hour, two is better, and you will see the difference in every slice.
When it is time to eat, find the grain of the flat and slice against it. The flat runs one direction, and the point runs another, so separate the two muscles at the seam and slice each one against its own grain. Slice about the thickness of a pencil. Serve the burnt ends from the point if you are eating with people who know what they are, and watch them disappear first.
What Else Helps
A good thermometer is the difference between guessing and knowing, but a few other things make brisket day easier. A spray bottle of apple juice and water for the surface, a roll of good butcher paper, a sharp slicing knife, and a cooler big enough for the brisket. I also keep a GRILLART bristle-free brush on the patio now. I switched to it about a year ago after reading about wire bristles coming loose and ending up in food, and it cleans the grates just as well without that worry in the back of my mind.
The MEATER Plus runs on one AAA battery that is included, and the probe charges on the bamboo charger. I charge it while the brisket rests and it is ready for the next cook before I am. The connectivity technology is Bluetooth and Wi-Fi, so I can check the cook from inside the house, and the app companion includes a timer, which I use for the rest period so I do not lose track of time while the grandkids are running around.
The MEATER Plus does not make the brisket tender. It just tells you the truth about what is happening inside, and that is the part you cannot do by feel.
Cook your next brisket with a thermometer that tells the truth.
The MEATER Plus has dual sensors, a 3-second response time, and wireless range that lets you leave the smoker alone. If you cook low and slow, this is the tool that keeps you honest. Check today's price on Amazon.
Amazon Check Today's Price on Amazon →